Practical answers for authors preparing a manuscript. These tips help you avoid the most
common causes of soft, blurry, or hard-to-read figures before you submit.
Whenever your software allows it, export graphs, schemes, and diagrams as
vector files (PDF, EPS, or SVG). Vectors stay sharp at any size and
reproduce cleanly in both the HTML and PDF versions of your paper. For photographs,
microscopy, or other continuous-tone images, use TIFF or PNG at
sufficient resolution (about 300 dpi at the final journal width;
600 dpi is better for line art if you must use a bitmap).
Avoid screenshots of plots or slides pasted into Word.
Prefer PNG or TIFF over JPG when you control the export.
Not by itself. PNG keeps every pixel (lossless). JPG
can soften fine lines and text if it was saved at a low quality setting, but many
photographs and some plots start life as JPG. What matters for MDPI is whether the
figure looks clear at journal size: readable labels, sharp lines, and no obvious
pixelation. If a JPG already looks soft on your screen, re-export from the original
plotting or drawing software instead of relying on that file.
In your manuscript
Keeping quality when you write in Word
Why do my figures look blurry after I put them in Word?
Microsoft Word can automatically reduce image resolution when you insert a figure.
By default it may downsample toward about 220 ppi if the image is
larger or higher-resolution than that setting. Labels, thin lines, and fine photo
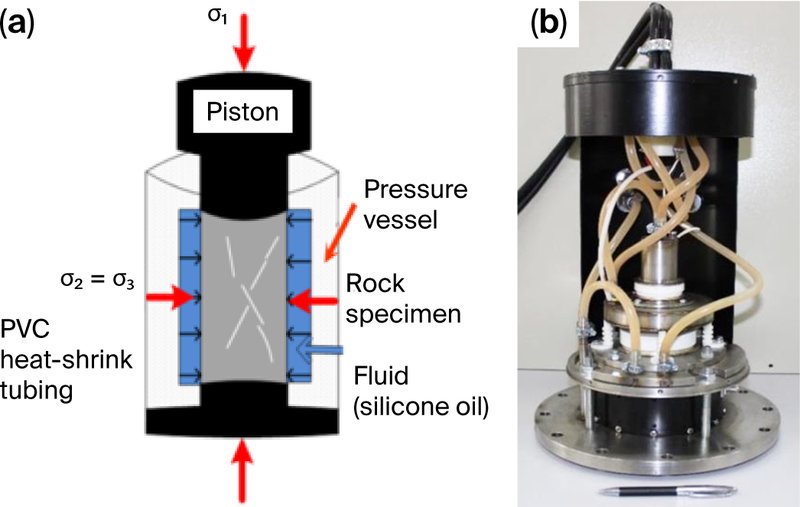
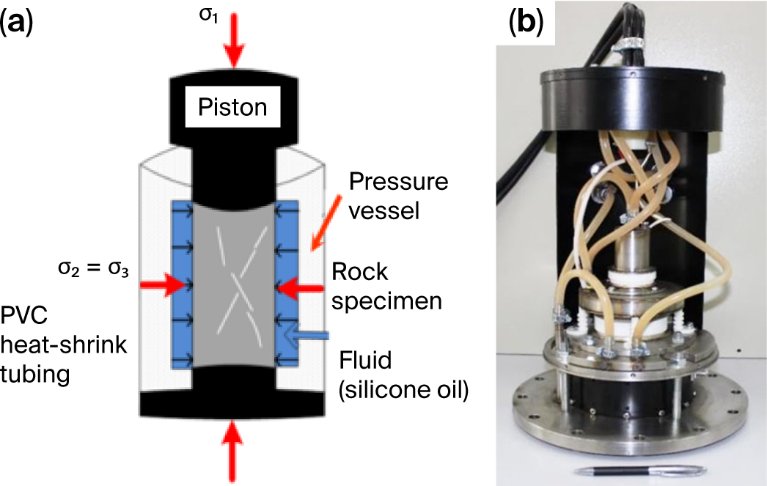
detail are the first things to suffer. The example below shows the same figure before
and after Word compression.
Original export — sharp labels and detail
After Word compression — softer and less detailed
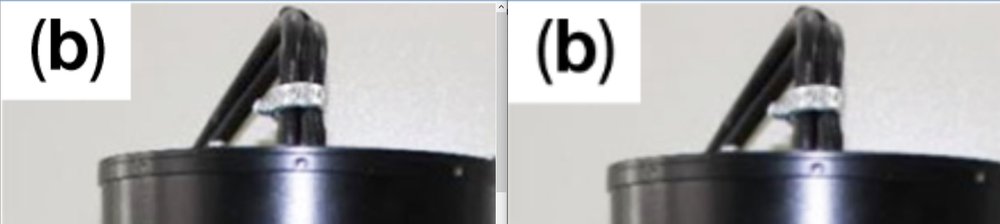
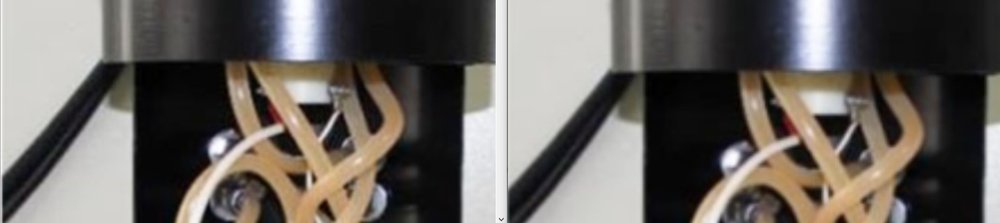
Zoomed in, the difference is clearer on text, arrows, and photograph texture:
Diagram detail — originalDiagram detail — after Word compression
Photograph detail — originalPhotograph detail — after Word compression
How do I stop Word from compressing my figures?
Two approaches work well for MDPI manuscripts:
Start from the MDPI Word template for your journal.
Each MDPI journal provides a manuscript template (usually linked from the journal
homepage under “Instructions for Authors”, or available when you start a submission
in Susy). Download that .docx file and write in it, rather than in a
blank Word document. The template is already set so Word does not compress images
in the file—and that setting travels with the document when you share it.
Or turn the setting on yourself in any Word file, before you insert
figures:
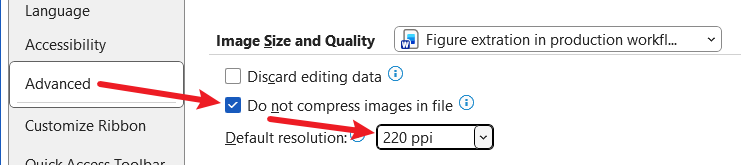
Windows: File → Options → Advanced → scroll to
Image Size and Quality
Mac: Word → Preferences → Advanced (or Edit) →
Image Size and Quality
Tick Do not compress images in file, then insert your figures.
Enable “Do not compress images in file” under Image Size and Quality.
Tip: Change this setting before inserting figures.
Turning it on later does not restore quality that Word already reduced. If a figure
already looks soft in your manuscript, re-insert it from the original export.
Can I fix a blurry figure by saving or exporting it at a higher resolution later?
No. Increasing the dpi or “upscaling” a soft image only invents new pixels; it cannot
bring back labels or detail that were already lost. Always keep your original exports
from GraphPad, R, Python, Illustrator, or your imaging software, and re-insert those
if Word has compressed a copy.
Before you submit
Quick checks that improve quality
What should I check before submission?
Open your manuscript at about 100% zoom and ask: would a reader still read every
axis label, panel letter, and scale bar at journal column width? Then confirm:
Figures are embedded in the manuscript at the right place, with captions.
Text and lines stay readable when the figure is reduced to single- or double-column width.
You used vector exports where possible, or TIFF/PNG at adequate resolution.
Word is not compressing images (MDPI template, or “Do not compress images in file”).
Colour is clear for colourblind readers; meaning does not depend on colour alone.
For the full list, use the
pre-submission checklist. After acceptance, Susy
may invite you to upload high-quality source files (vector preferred)—that is optional
but strongly recommended, and it does not replace figures in the manuscript.
What are the most important habits for sharp MDPI figures?
Export from your plotting or drawing software as vector (PDF/EPS/SVG) when you can.
Write in the journal’s MDPI Word template, or enable “Do not compress images in file” before inserting figures.
Never rely on a screenshot or a heavily compressed JPG as your only source.
If a figure looks soft in Word, delete it and insert the original file again after fixing the Word setting.
Keep editable originals so you can re-export cleanly at revision or after acceptance.